
안녕하세요 Foma 입니다!
오늘은 React Native에서 Custom Font를 다운 받아 적용하는 방법에 대해서 알아 보겠습니다.
바로 시작할게요~
언어는 TypeScript, 환경은 Expo로 진행 하겠습니다!
Download Font
아래 Google Font로 이동해 줍니다.
Google Fonts
Making the web more beautiful, fast, and open through great typography
fonts.google.com
원하는 폰트를 고른 뒤
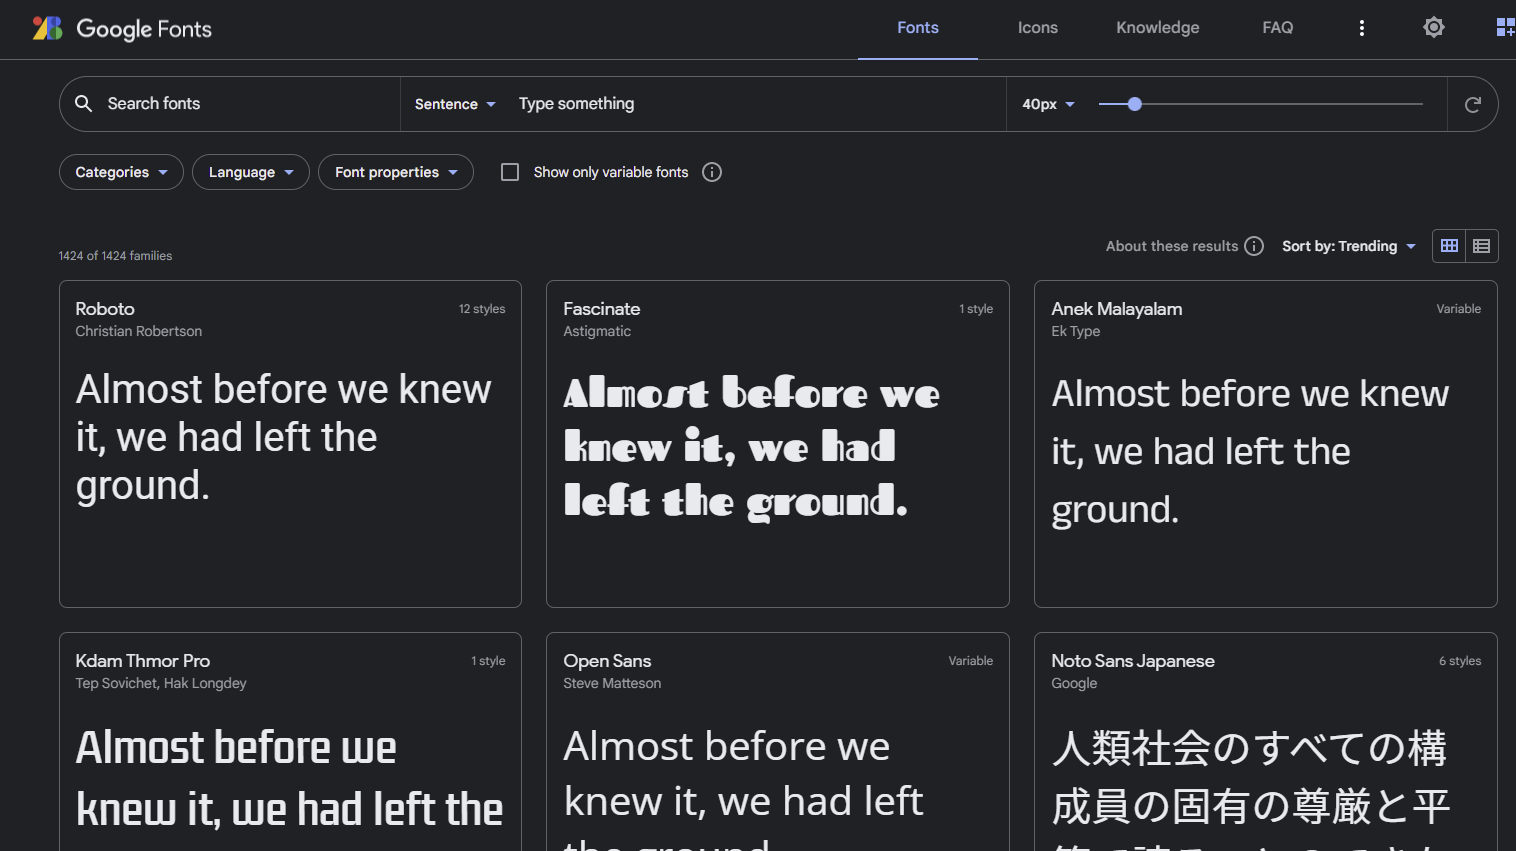
Download family 버튼을 눌러 맘에 드는 폰트를 다운로드 받아 줍니다.

.zip파일을 압축 해제한 뒤 assets에 fonts 폴더를 만들어 주고 해당 .ttf 파일을 넣어줍니다.

Use Cached Resources
useCachedResources.ts
폰트를 여러번 불러오는 것을 막기 위해 useState와 useEffect를 사용해 딱 한번만 불러오도록 합니다.
useEffect 안에 비동기적으로 위에서 다운 받은 폰트를 불러올 수 있도록 loadResourceAndDataAsync 메서드를 작성해 줍니다.
폰트를 다 불러 왔다면 setIsLoadingComplete를 true로 해줘 isLoadingComplete가 true로 반환될 수 있도록 합니다.
import { useEffect, useState } from "react";
import * as Font from "expo-font";

export default function useCachedResources() {
  const [isLoadingComplete, setIsLoadingComplete] = useState(false);

  useEffect(() => {
    async function loadResourcesAndDataAsync() {
      try {
        await Font.loadAsync({
          "fascinate-regular": require("../assets/fonts/Fascinate-Regular.ttf"),
        });
      } catch (e) {
        console.warn(e);
      } finally {
        setIsLoadingComplete(true);
      }
    }

    loadResourcesAndDataAsync();
  }, [isLoadingComplete]);

  return isLoadingComplete;
}
Adjust Font
위에서 만든 useCachedResources를 통해 폰트가 불려졌다면 View를 return하고 그렇지 않다면 null을 반환하도록 합니다.
App.tsx
import { StyleSheet, Text, View } from "react-native";
import useCachedResources from "./hooks/useCachedResources";

export default function App() {
  const isLoaded = useCachedResources();

  if (isLoaded) {
    return (
      <View style={styles.container}>
        <Text style={styles.text}>Hello, I'm Fomagran</Text>
      </View>
    );
  } else {
    return null;
  }
}
그 다음 styles에 fontFamily를 해당 폰트 이름으로 바꿔줍니다.
const styles = StyleSheet.create({
  container: {
    padding: 20,
    flex: 1,
    backgroundColor: "rgba(50,50,50,1)",
  },
  text: {
    fontSize: 20,
    marginBottom: 20,
    fontWeight: "bold",
    color: "white",
    fontFamily: "fascinate-regular",
  },
});
실행 결과
아래와 같이 폰트가 잘 적용되는 것을 볼 수 있습니다.
(왼쪽이 적용하기 전이고 오른쪽이 폰트를 적용한 후의 모습입니다.)


댓글